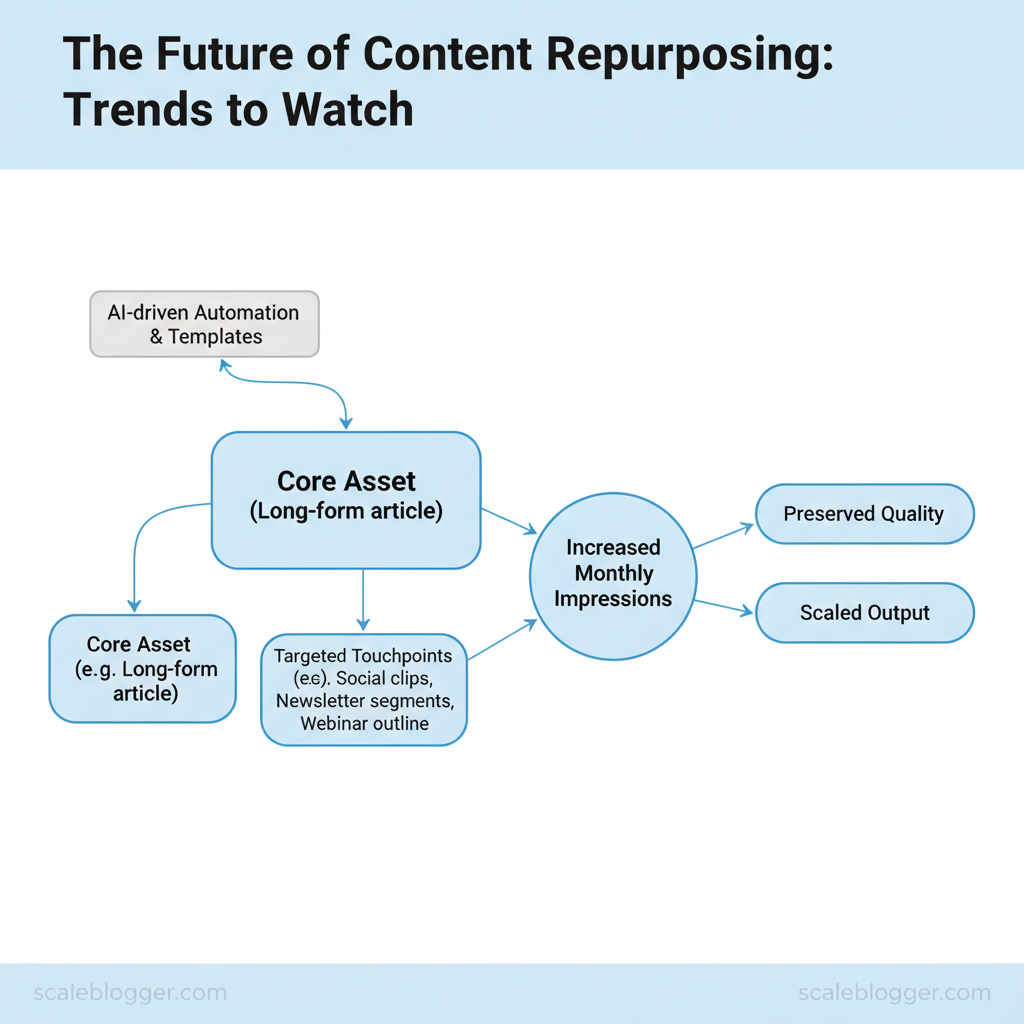
After repurposing, the question changes from “did we post?” to “did the right outcome change due to the repurpose?”
Key performance indicators (KPIs) show you whether your repurposed content achieves its goals—like reach, engagement, and conversions—rather than just confirming it was posted.
For repurposing, group KPIs into three buckets:
- Awareness: impressions, reach, video views (by format)
- Engagement: CTR, likes/comments/shares, watch time, saves
- Conversion: clicks to site, assisted conversions, lead actions (e.g., demo requests)
Meaningful Primary KPI movement: define Up/Down/Flat using your pre-set thresholds.
- Up: Primary KPI increases beyond your pre-set minimum-detectable threshold (relative lift and/or absolute lift).
- Down: Primary KPI decreases beyond your pre-set minimum-detectable threshold.
- Flat: Primary KPI stays within your “noise band” (below thresholds).
Noise band guidance: choose thresholds based on your channel/format variability (and document them inside the Segment Brief as guardrails) so “flat” doesn’t hide real signal—or overreact to normal fluctuations.
Set a review cadence: review weekly for short-form/paid social signals, and monthly for SEO and lead trends. When a segment slice shows meaningful Primary KPI movement (Up/Down per the definitions above), move it into the next segment-level one-lever workflow.
Quick Answer:
To determine the next step for each Segment Brief slice, run the one-lever workflow outlined in Section 10. Section 10 uses the measurement validity gate from Section 7; if it passes, pick exactly one next lever from the routing tree in Section 5 and record it in the decision record (Section 15). If the gate fails, switch to repair-only mode in Section 14 and re-run only the failing checkpoint(s) until the gate passes.
For the full evidence pack → validity gate → routing decision, see Section 10.
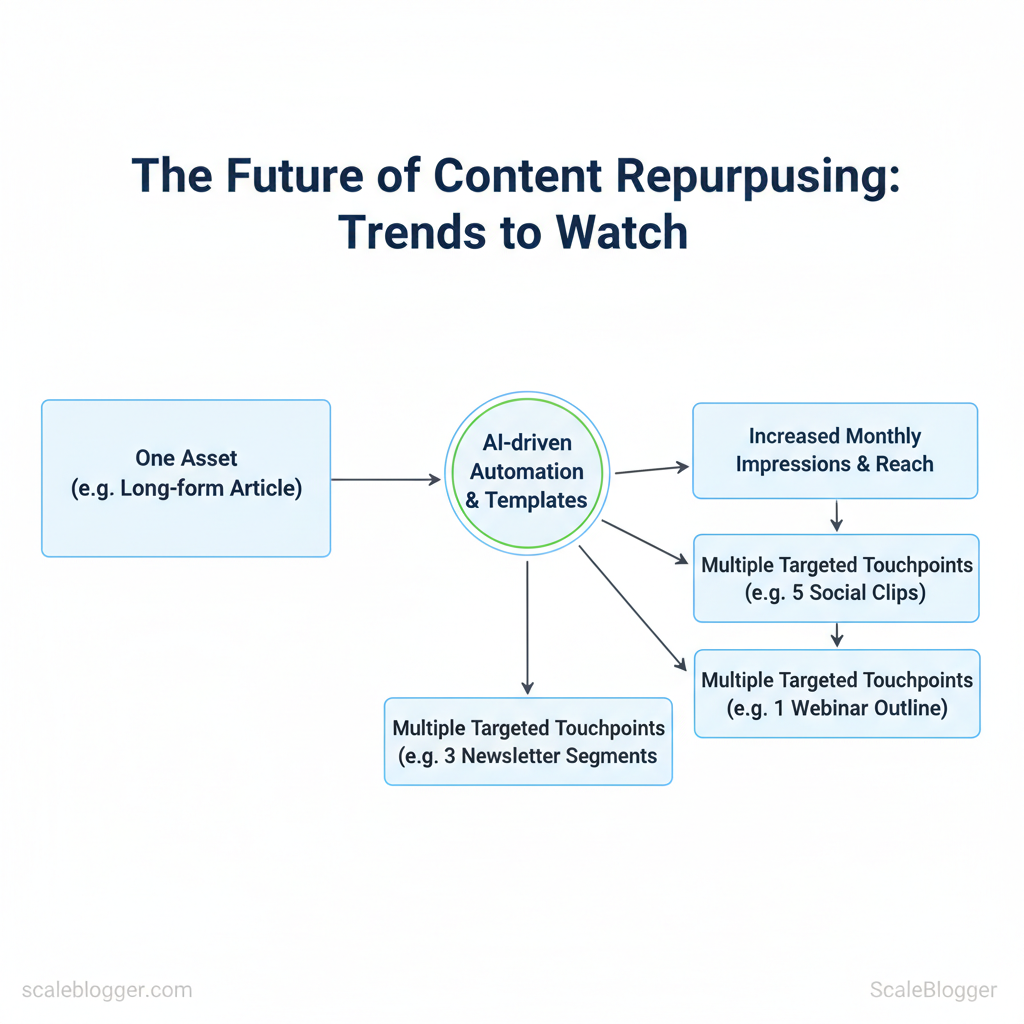
Use the Segment Brief to identify your Primary KPI’s bucket—Awareness, Engagement, or Conversion—and to classify its movement as Up, Down, or Flat based on Section 2’s definitions.
Primary KPI movement → likely driver (diagnostic…
Use the Segment Brief to identify your Primary KPI’s bucket—Awareness, Engagement, or Conversion—and to classify its movement as Up, Down, or Flat based on Section 2’s definitions. Primary KPI movement → likely driver (diagnostic hypothesis): This routing tree maps the combination of bucket movements to the most likely failure category so you can select your correct single next lever in your one-lever workflow. When a bucket has multiple metrics: use the diagnostic metric (or your documented aggregation rule) from the Segment Brief so each companion bucket state (e.g., “Engagement Down”) is unambiguous for routing. Routing output requirement: select exactly one next lever per segment slice for your one-lever cycle, based on your Segment Brief’s diagnostic metric and the companion bucket states. Dashboard purpose: produce the minimum, slice-specific evidence you need to evaluate the Primary KPI for one Segment Brief slice and to support the validity gate. Keep it minimal, consistent, and sliceable: Slice it using the Segment Brief keys: break results down by channel × format × campaign type × audience group (the slice dimensions recorded in Section 9). Use this dashboard slice as the evidence input to the measurement validity gate in Section 7. Next: run the measurement validity gate (Section 7) on this dashboard slice to confirm the KPI movement is decision-ready. Validity checkpoints: Use these checks to ensure any KPI movement you observe comes from the repurposing change—not from tracking errors, hidden-variable shifts, or reporting drift. Proceed: If these checks pass, you can treat the KPI movement as decision-ready and use it to select the next lever within your Segment Brief. Execution checklist (one-lever cycle) Run a single segment-level one-lever test using the Segment Brief (Section 9). This produces an auditable evidence pack and a routing decision. Result: an evidence pack tied to the evaluation window, a refreshed Segment Brief (immutables preserved), and a routing-ready decision logged in the decision record. Measurement exception (repair-only) mode Use this mode only when the measurement validity gate fails during the one-lever workflow in Section 10. Keep fixed (immutables): Repair-only loop (minimum delta): Return + logging: Optional: If you captured a learning note, attach it per Section 11 (without replacing any core schema fields).
Next lever (single change): revise the hook/promise (first frame + opening caption copy) to better match the format’s value claim.
Check: hook/first-frame strength, caption clarity/structure, early retention/watch-time drop-off.
Next lever (single change): update the landing/offer alignment (message + CTA + form copy) to match the repurposed intent.
Check: landing/message match, CTA click-to-submit rate, form friction, lead qualification.
Next lever (single change): create a new attention variant (thumbnail/frame + first line) while keeping targeting/distribution and everything else fixed.
Check: thumbnail/frame effectiveness, first-line readability, whether targeting/distribution changed (or fatigued).
Next lever (single change): increase distribution reach for this segment slice (budget/bid, delivery settings, or targeting scope as allowed).
Check: targeting rules, budget/ad delivery constraints, and segment size.
Next lever (single change): re-align the attribution window/measurement definition to match the test window and re-check conversion event setup.
Check: conversion definition + attribution window alignment to the test window, and lead quality.
Next lever (single change): scale the best-performing clip/caption/variant by increasing budget or expanding within the same targeting rules.
Check: that the lift is outside the noise band and validity checkpoints passed.
Next lever (single change): keep targeting the same slice and run a micro-iteration that improves the diagnostic metric (treat as a learning test, not a scaling test).
Check: that the “Flat” classification and validity checkpoints are correct.
Next lever (single change): scale the best-performing engagement driver (e.g., top caption/frame variant) via budget increase or tighter/expanded targeting—keeping everything else constant.
Check: engagement lift outside noise band and validity checkpoints passed.
Next lever (single change): fix the funnel completion step for this repurposed intent (landing relevance and/or the primary conversion CTA + form friction).
Check: landing relevance vs promise, CTA click-to-submit rate, and form/lead quality.
Next lever (single change): revise the hook/promise (first frame + opening caption structure) so the content attracts the right audience expectation.
Check: early retention/watch-time drop-off, caption clarity, and whether engagement curve changes at the start.
Next lever (single change): create a new attention variant (thumbnail/frame + first line) while keeping targeting/distribution fixed.
Check: first-line readability, frame/thumbnail effectiveness, and whether delivery conditions stayed constant.
Next lever (single change): re-align the attribution window/measurement definition to the evaluation window and re-check conversion event integrity.
Check: conversion definition, attribution window alignment, and lead quality.
Next lever (single change): update the offer/CTA presented immediately after engagement (landing headline/message and/or the CTA wording).
Check: click-to-landing rate, CTA-to-submit conversion rate, and form friction.
Next lever (single change): keep the slice constant and run a learning micro-iteration that improves the diagnostic engagement metric.
Check: validity checkpoints and correct diagnostic metric aggregation.
Next lever (single change): scale the conversion driver (often offer/CTA + landing message) for the same slice using budget or delivery expansion.
Check: conversion lift outside noise band and validity checkpoints passed.
Next lever (single change): scale carefully by expanding within the same slice only (avoid broad targeting changes) and monitor lead quality.
Check: lead quality, MQL rate, and whether engagement drop is stable rather than worsening.
Next lever (single change): re-align measurement/attribution window to the evaluation window and validate conversion tracking setup.
Check: conversion event firing reliability + attribution window alignment.
Next lever (single change): update the landing/offer and/or the primary conversion CTA + form friction to match the repurposed promise.
Check: message match, CTA click-to-submit rate, form friction, and conversion-path drop-off.
Next lever (single change): increase distribution reach for this slice (budget/bid or delivery settings within allowed constraints).
Check: delivery volume/traffic and whether conversion rate normalizes with volume.
Next lever (single change): revise the hook/promise or early content structure to attract the right intent (first frame + opening caption/CTA context).
Check: early engagement/retention, and whether the engaged segment quality improves.
Next lever (single change): keep the slice constant and run a learning micro-iteration that improves the diagnostic conversion metric.
Check: validity checkpoints and correct conversion definition/aggregation.
Section 15
Decision record schema (complete/refresh this after each segment-level one-lever test)
Fill this schema for every segment-level test outcome so results remain auditable across cycles (see Sections 9/10 for where it’s created; optional add-on in Section 11):