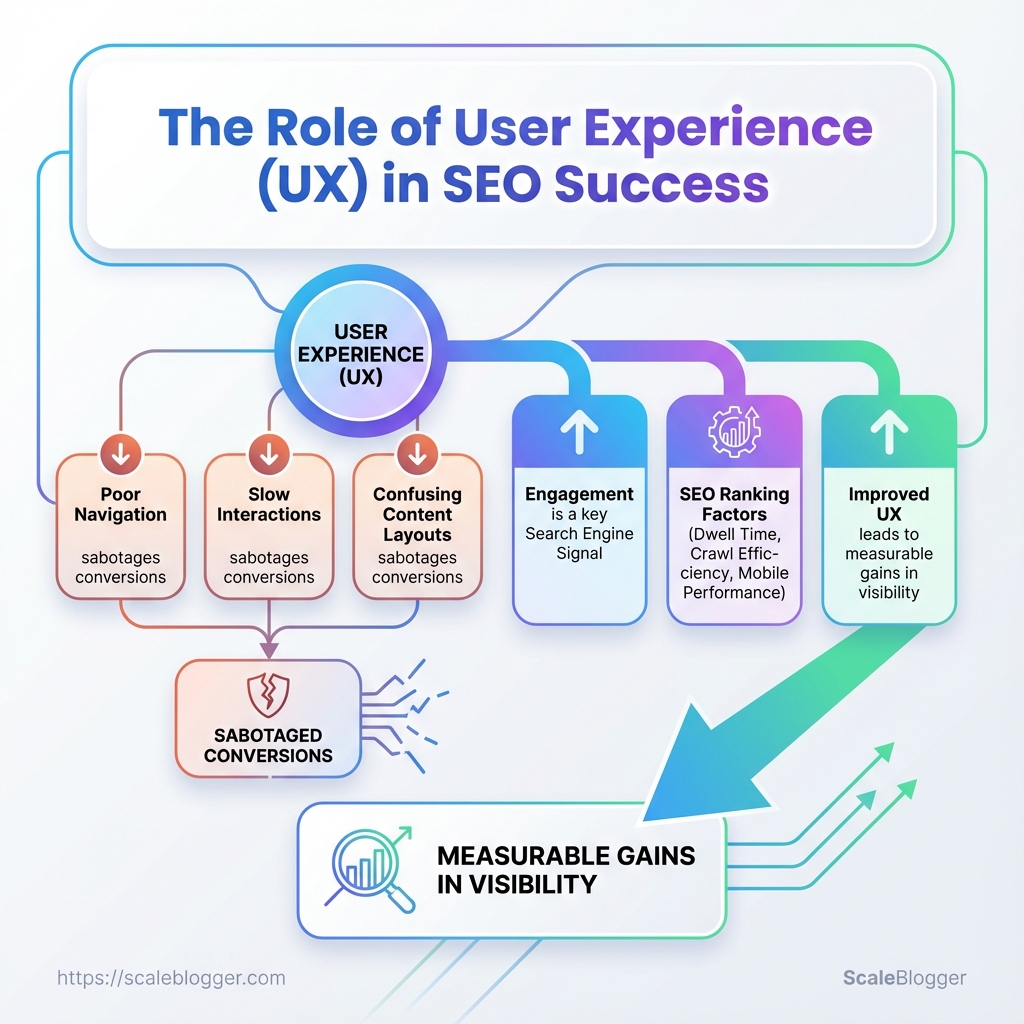
A recent site redesign pushed pages to the top of search results — then traffic evaporated because people left after one click. Poor navigation, slow interactions, and confusing content layouts quietly sabotage conversions even when search visibility seems healthy, and those failures all trace back to user experience.
Search engines increasingly treat engagement as a signal, so UX feeds directly into SEO ranking factors like dwell time, crawl efficiency, and mobile performance. Improving those signals doesn’t start with more backlinks; it starts with clearer paths for users, faster rendering, and content structured to answer intent.
Treating UX as a ranking lever turns website updates from guesswork into measurable gains in visibility. For immediate practical help with prioritizing and automating those fixes, Explore Scaleblogger’s automation for content optimization.
What You’ll Need (Prerequisites)
Start with access: to run a meaningful UX and SEO audit you need analytics, search visibility data, the ability to change the site, and a handful of diagnostic tools. Without those, observations stay theoretical and improvements can’t be validated. Below are the practical prerequisites and the core tools that let an audit move from theory to measurable wins.
Analytics access: GA4 or equivalent account with at least 90 days of data and permissions to view events and engagement metrics.
Search visibility: Access to Google Search Console (or Bing Webmaster Tools) for query, impressions, and indexing insights.
CMS/editor access: Ability to edit content and push changes (WordPress editor, headless CMS, or developer workflow with deploy permissions).
Deployment path: A testing/staging environment plus a clear process to deploy updates to production.
Technical familiarity: Basic proficiency in HTML/CSS and comfort inspecting elements in the browser devtools.
SEO basics: Understanding of on-page SEO concepts—meta titles, headings, canonical tags, structured data, and crawlability.
Stakeholder alignment: Contact for product/marketing and engineering to approve experiments and deployments.
Tools & materials
- Google Analytics 4: traffic, engagement, conversion funnels.
- Google Search Console: queries, indexing issues, sitemap status.
- Performance tools: Lighthouse / PageSpeed Insights for real-world lab metrics.
- Session recording: Hotjar or FullStory to watch user behaviour.
- A/B testing: Optimizely, VWO, or Google Optimize for experiments.
- Accessibility checker: axe DevTools or WAVE for WCAG issues.
- Editor/IDE access: admin account or git workflow to push fixes.
- Optional automation: content pipelines or automation tools such as Scaleblogger.com to speed editorial changes and experiment rollout.
Quick reference of required tools and why each is needed
| Tool | Purpose | Cost/Access | Notes |
|---|---|---|---|
| Google Analytics 4 | Traffic & engagement analysis | Free | Event tracking, conversion paths |
| Google Search Console | Search queries & indexing | Free | Coverage reports, URL inspection |
| Lighthouse / PageSpeed Insights | Lab & field performance metrics | Free | Core Web Vitals diagnostics |
| Hotjar / FullStory | Session replay, heatmaps | Free tier / paid | Behaviour insights, friction points |
| Optimizely / VWO / Google Optimize | A/B testing and experimentation | Free (Optimize) / paid | Feature flags, rollout control |
| axe DevTools | Automated accessibility checks | Free / paid | WCAG checks, issue export |
| WordPress / CMS Editor | Content editing & publishing | Varies | Direct edit or PR-based workflow |
| Browser devtools (Chrome/Edge) | Inspecting DOM, network, CSS | Free | Debugging, measuring paint/compute |
Key insight: These tools together cover measurement (GA4, Search Console), diagnosis (Lighthouse, recordings, accessibility), and action (CMS access, A/B platforms). Having both observation (session recordings) and validation (experiments) in place turns fixes into measurable gains in user experience and SEO ranking factors.
Plan to get accounts and permissions sorted before running the audit. With those pieces in place, fixes can be targeted, tested, and shown to move the needle—rather than guessed at.
Step-by-step UX Audit to Improve SEO
Start by treating UX issues as search-signal problems: slow pages, unstable layouts, and confusing navigation all reduce crawl efficiency, engagement, and ultimately rankings. A focused audit finds the high-impact fixes you can ship fast and A/B test to prove uplift.
Access to analytics: GA4 or server logs with at least 30 days of traffic. Staging environment: For safe testing and rollouts. Stakeholders: Product, dev, content, and marketing aligned on goals.
Tools & materials
- Performance tools: Lighthouse, WebPageTest,
Chrome DevTools - Session tools: Hotjar, FullStory, or similar for recordings
- Crawling: Screaming Frog, Sitebulb, or a headless crawler
- A/B testing: Optimizely, Google Optimize alternative, or server-side flags
- Gather baseline analytics and search performance
- Crawl site to find UX/technical issues
- Run Core Web Vitals and performance tests
- Perform qualitative research (session recordings, user testing)
- Audit content structure and on-page UX
- Prioritize issues with impact vs. effort
- Create an implementation and A/B testing plan
Collect organic landing pages, bounce/engagement metrics, and top queries. Identify pages with high impressions but low CTR and short dwell time.
Run a full site crawl to surface broken links, duplicate titles, missing meta, and orphan pages. Flag pages with heavy DOM sizes or many synchronous scripts.
Measure Largest Contentful Paint, First Input Delay, and Cumulative Layout Shift across device types. Catalog pages failing thresholds and note contributing resources.
Watch representative sessions, run short 5–7 task usability tests, and collect user pain points around findability and conversion flows.
Check headings, scannability, CTA clarity, and image alt text. Ensure content matches search intent and provides clear next steps.
Map each finding to expected SEO signal improvements and engineering effort. Use the prioritization matrix below to decide what to fix first.
Define hypotheses, metrics, test durations, and rollout criteria. Use staged rollouts and measure both SEO signals and engagement KPIs.
Prioritization matrix comparing impact vs. effort for common UX fixes
| Issue | SEO Signal Impact | Effort (Low/Medium/High) | Estimated Time to Fix |
|---|---|---|---|
| Improve LCP (optimize images / server) | Improves Largest Contentful Paint, ranking risk reduced |
Medium | 1-3 days |
| Reduce CLS (stabilize layout/ads) | Cuts Cumulative Layout Shift, better UX signals |
Low | 1-2 days |
| Fix mobile navigation/UX | Higher mobile engagement, lower bounce | Medium | 3-7 days |
| Improve content scannability (headings, bullets) | Better dwell time and CTR | Low | 1-4 days |
| Reduce intrusive interstitials | Removes search penalties, improves CTR | Low | 1-2 days |
Key insight: Focus first on fixes that move Core Web Vitals and mobile usability because they directly affect both user engagement and search signals. Tackle low-effort, high-impact items immediately and bundle bigger engineering changes into prioritized sprints. Consider automating content workflow and experiment scheduling with tools like Scaleblogger.com to speed implementation and measure SEO lift.
A pragmatic audit that pairs quantitative signals with quick qualitative checks produces fixes you can validate fast and iterate on. That’s how UX work turns into measurable SEO wins.
Implement UX Changes That Move the SEO Needle
Start by focusing on a few surgical UX improvements that directly affect crawlability, engagement, and page performance. Faster pages keep users on the site longer, reduce bounce, and give search engines clearer signals that your content satisfies intent. Practical wins sit at the intersection of frontend tweaks and content structure: image optimization, smart loading, CSS strategy, clearer mobile navigation, and stronger internal linking.
Site audit: Run a performance and UX audit with Lighthouse, WebPageTest, or your preferred tools to capture baseline metrics (LCP, FID/INP, CLS).
Access: Ability to edit HTML templates, CDN settings, and server headers.
Tools & materials
Image tools: sharp, ImageMagick, or web-based compressors. Build tooling: Webpack, Vite, or your static site generator. CDN & caching: Cloudflare, Fastly, or your hosting provider. Content tooling: An internal linking map or content inventory.
Practical fixes and deployment steps
- Optimize images — run a bulk conversion and compression pipeline.
- Export master images as WebP/AVIF where supported and keep
JPEG/PNGfallbacks. - Generate responsive
srcsetsizes for each image and include width descriptors. - Automate compression in CI so images are optimized before deploy.
- Implement lazy loading and proper caching headers.
- Add
loading="lazy"for non-critical images andfetchpriority="high"for hero images. - Set
Cache-Controlwith long max-age for static assets and usestale-while-revalidatefor smooth updates. - Push immutable assets through a CDN and version filenames for cache busting.
- Inline critical CSS and defer non-critical CSS.
- Extract above-the-fold styles into a small inline