

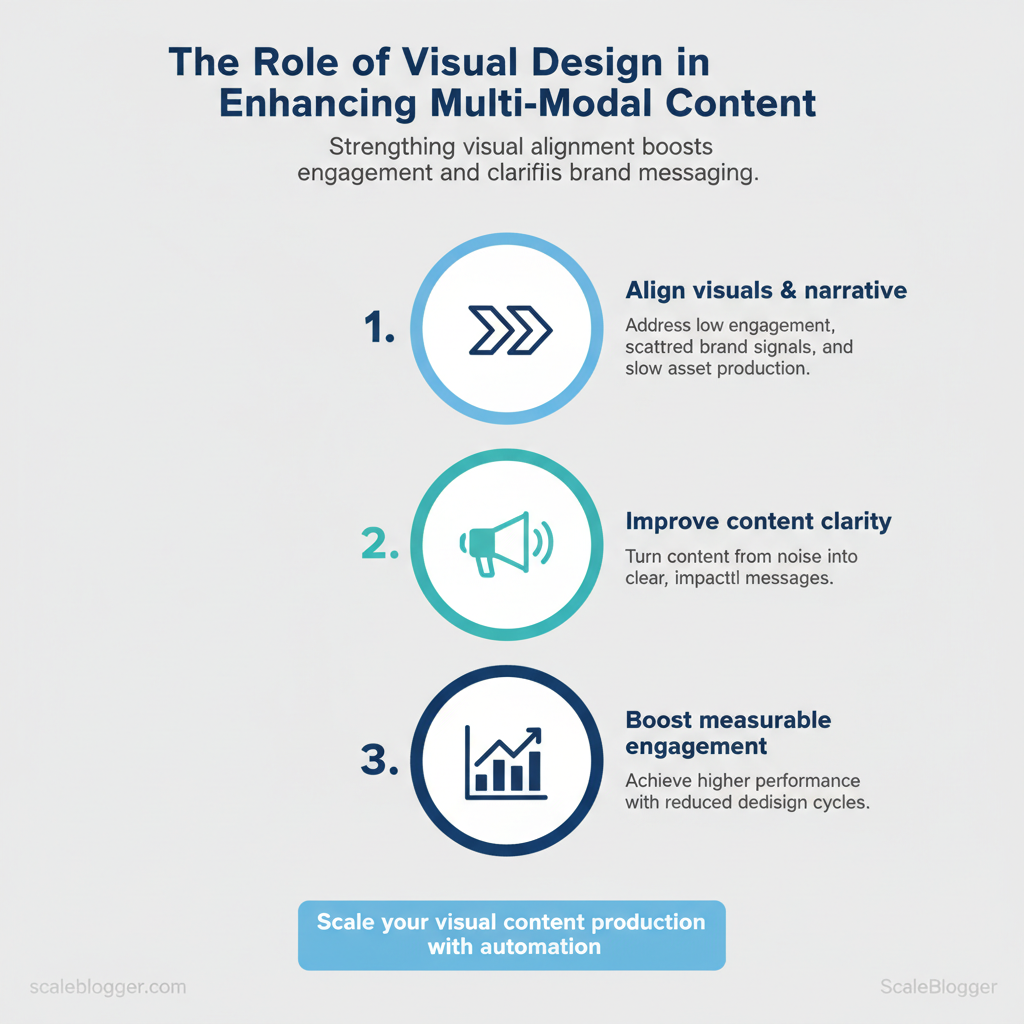
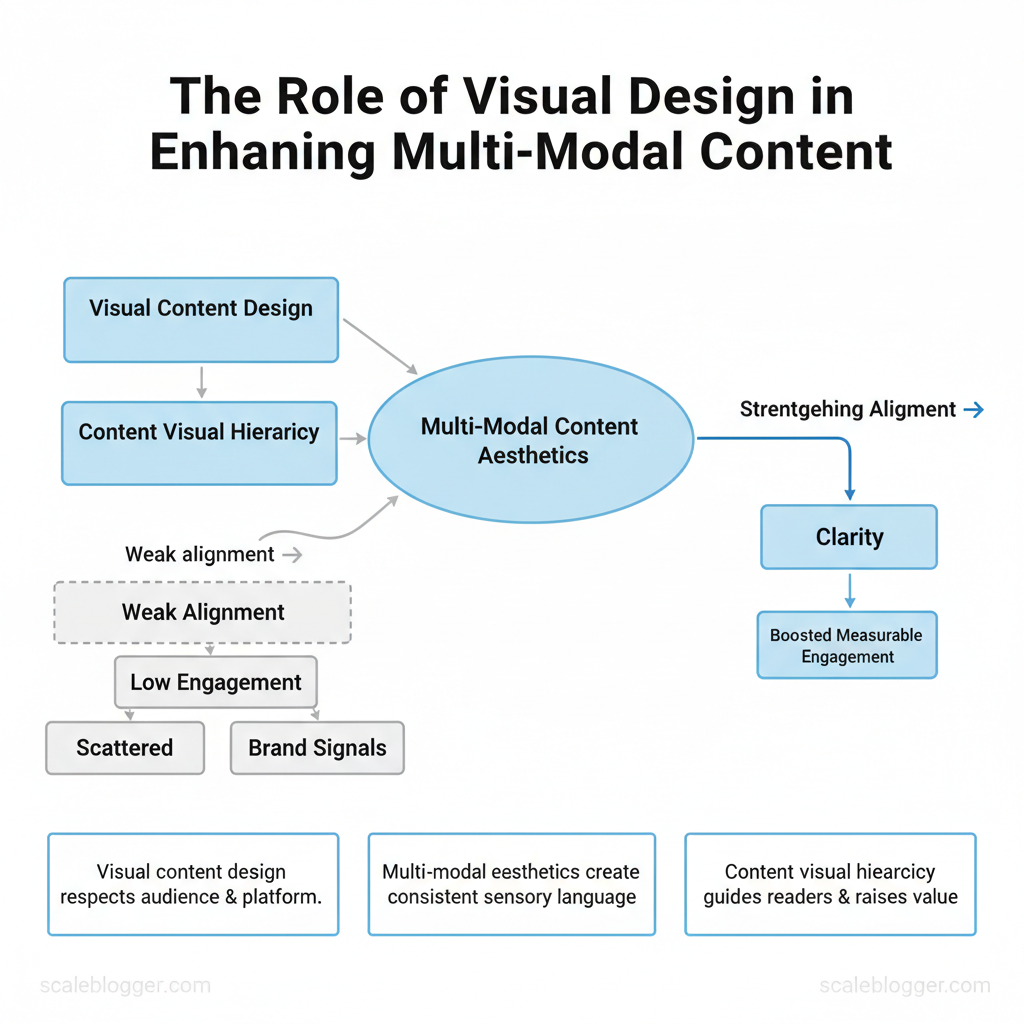
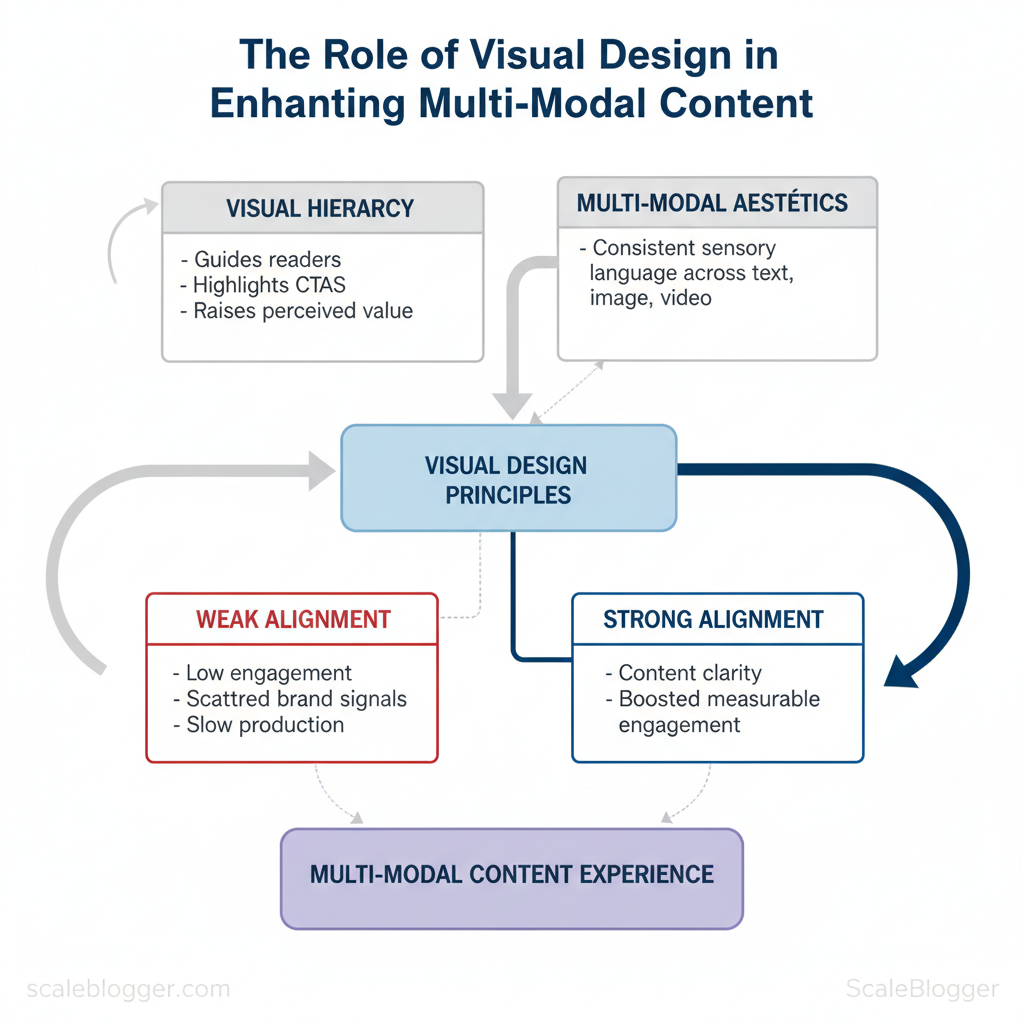
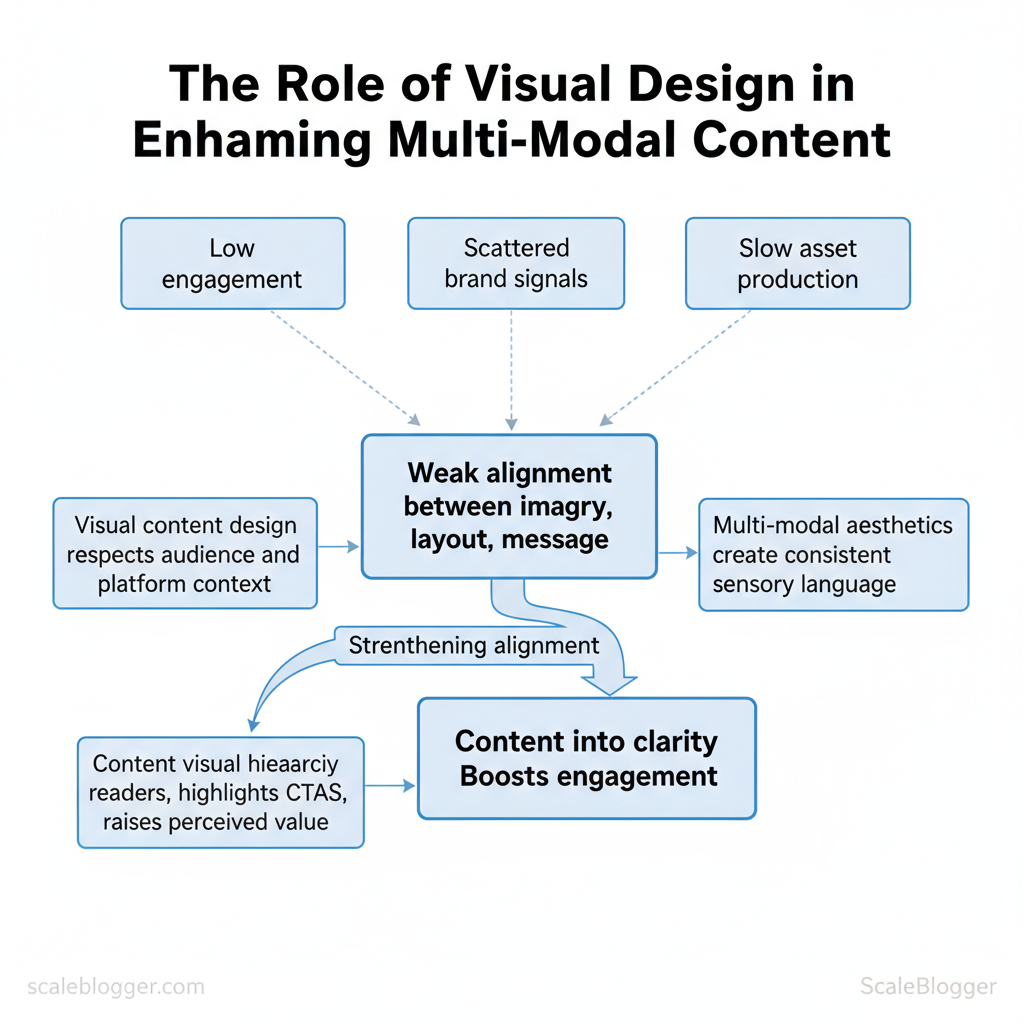
Marketing teams lose momentum when their visuals and stories don’t match. Low engagement, mixed brand signals, and slow asset creation all result from poor alignment between images, layout, and message. Improving that alignment makes content clearer and increases measurable engagement.
Content depends on visual design that respects audience attention and platform context, creating a consistent sensory language across text, images, and video. Thoughtful content visual hierarchy guides readers through ideas, highlights calls to action, and raises perceived value. Industry teams that adopt these principles reduce redesign cycles and produce higher-performing assets faster.
com) to automate repetitive asset creation and enforce consistent design rules at scale.
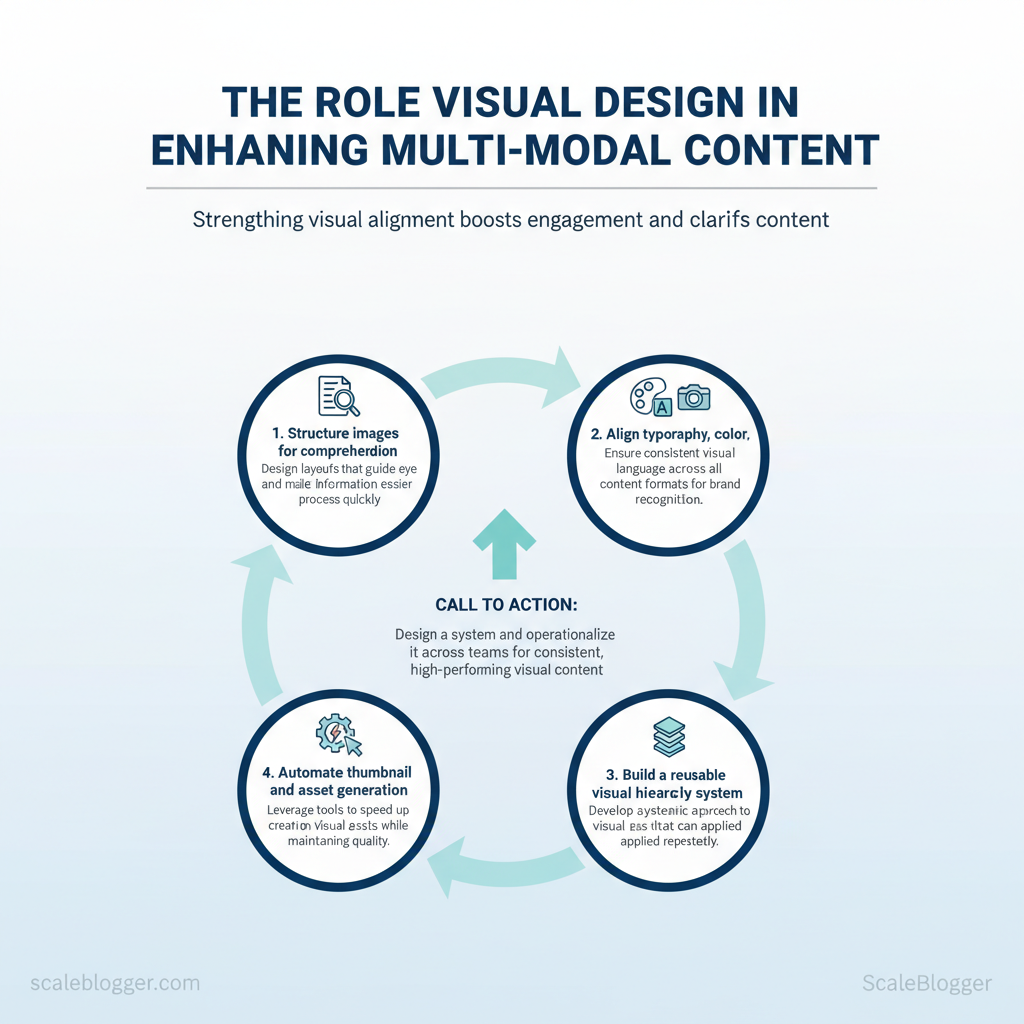
- How to structure images and layouts for quicker comprehension
- Methods to align typography, color, and imagery across formats
- Practical steps to build a reusable visual hierarchy system
- Ways automation speeds thumbnail and asset generation without losing craft
Picture a marketing calendar where every thumbnail, article hero, and short video shares a common visual logic, ready to publish. The guide that follows shows how to design that system and operationalize it across teams. Try Scaleblogger to automate thumbnail and asset generation: https://scaleblogger.com
> Key Takeaway: ## Fundamentals of Visual Design for Multi-Modal Content
Think of visual design as your navigation tool; it directs attention, clarifies meaning, and builds trust across text, images, audio, and video. Visual hierarchy tells users where to look…
Fundamentals of Visual Design for Multi-Modal Content
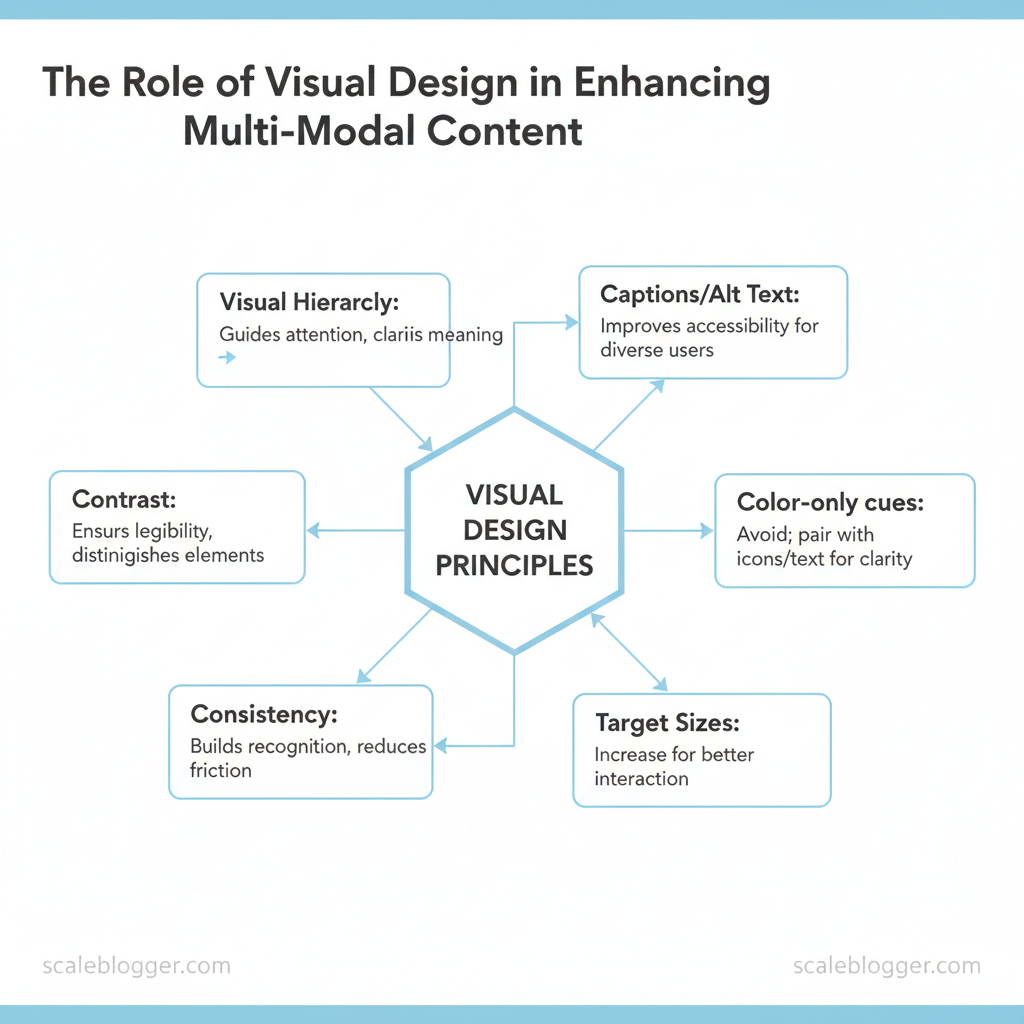
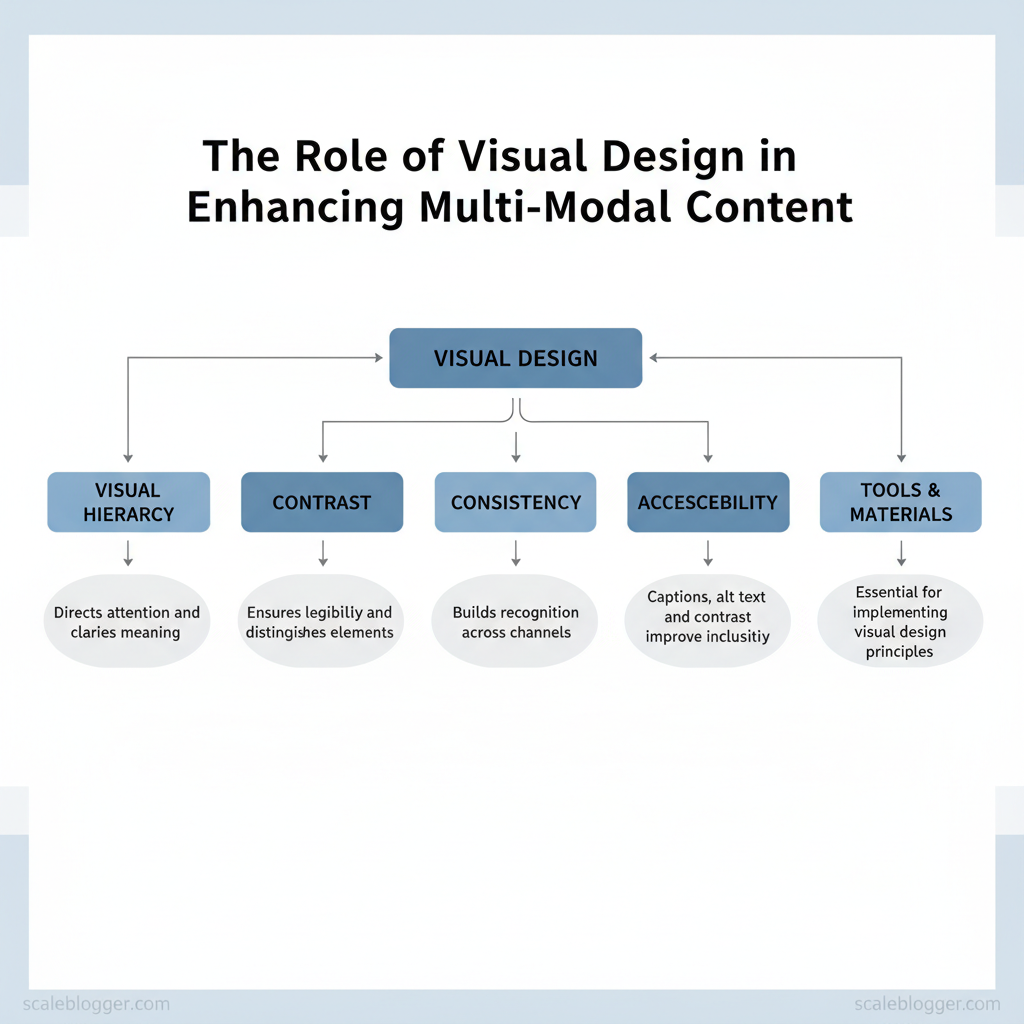
Think of visual design as your navigation tool; it directs attention, clarifies meaning, and builds trust across text, images, audio, and video. Visual hierarchy tells users where to look first; contrast ensures they can read and distinguish elements; consistency builds recognition across channels. These three principles reduce friction for scanning, improve comprehension, and increase engagement for multimodal experiences.
Prerequisites
- A brand palette, type scale, and component library. 2.
Basic familiarity with WCAG contrast ratios and alt-text practices. 3. Access to editing tools for images, captions, and CSS.
Tools and materials needed
- Design system files (Figma, Sketch)
- Contrast testing (WebAIM Contrast Checker)
- Captioning/transcription (Otter.ai, Descript)
- Image optimization (ImageOptim, Squoosh)
- Accessibility scanning (axe-core browser extension)
Implementable principles and steps
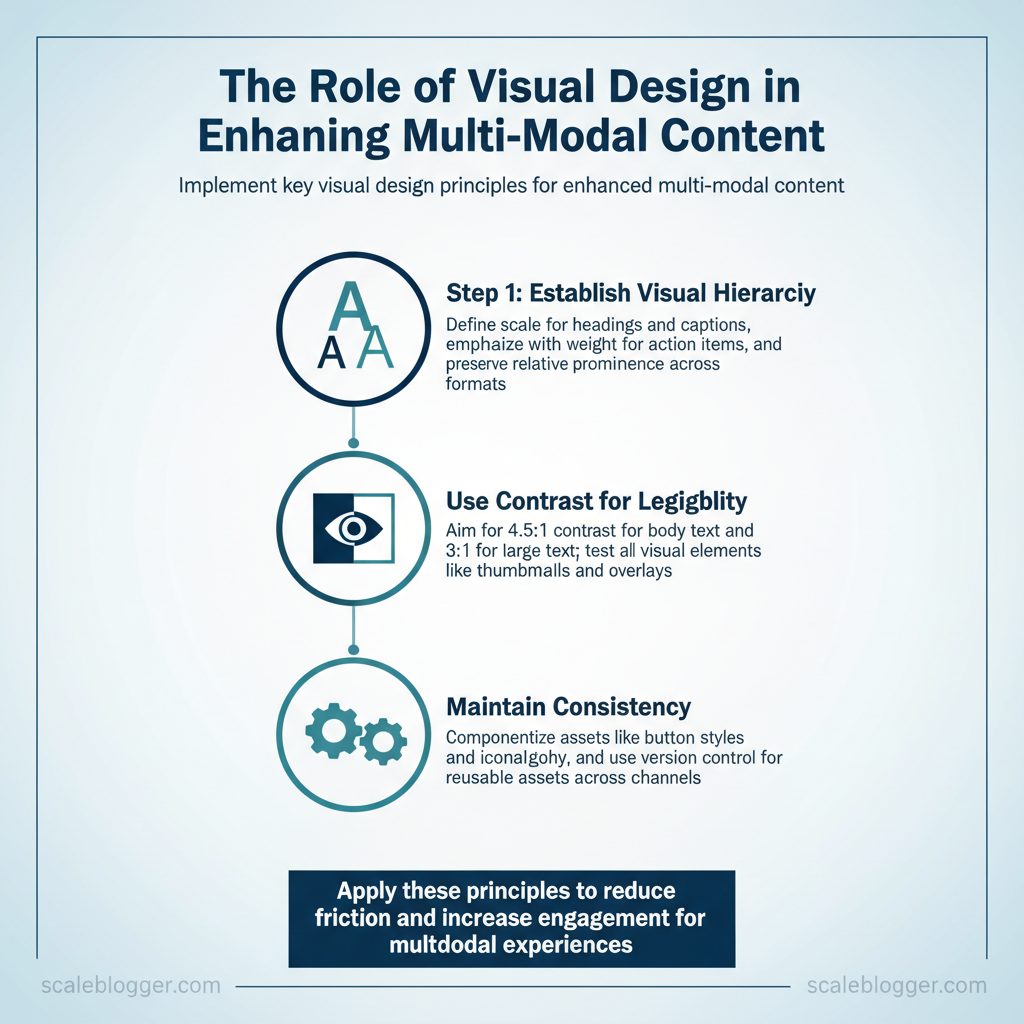
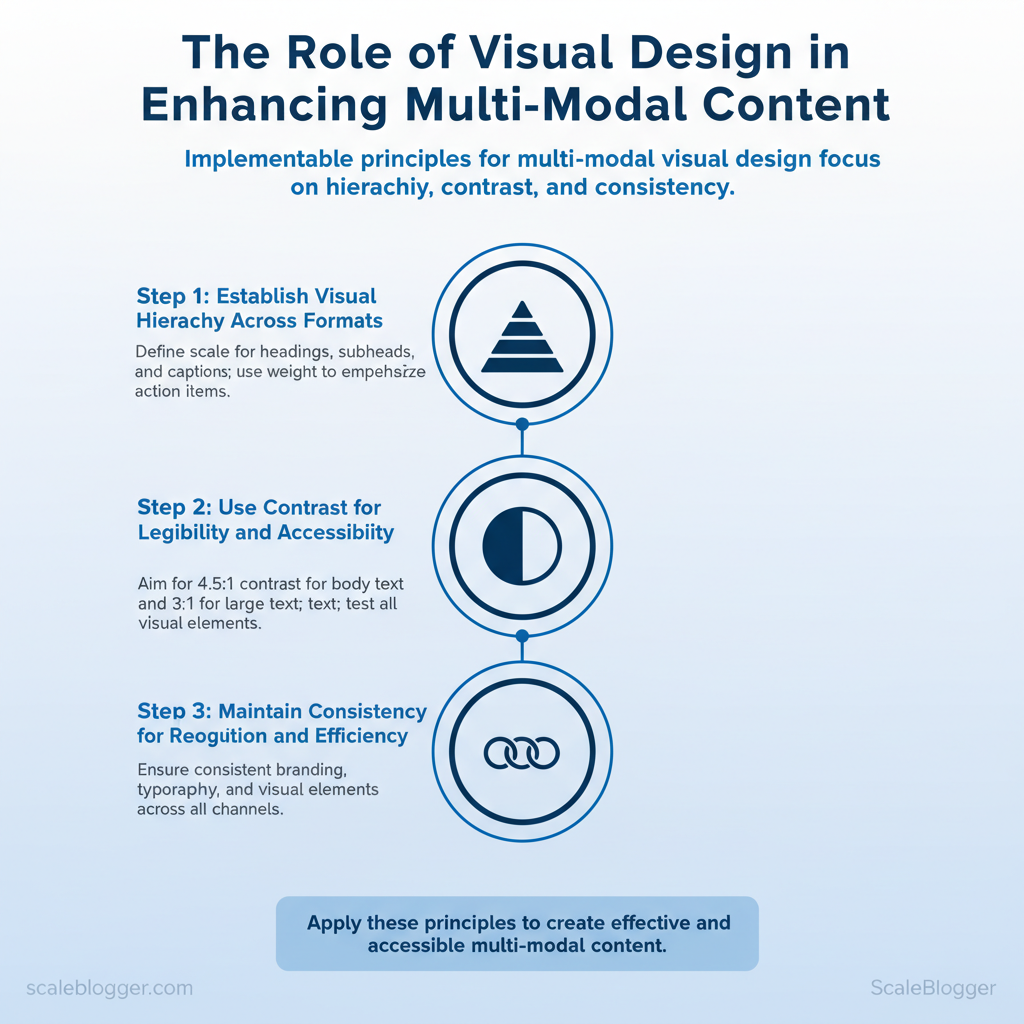
- Establish visual hierarchy across formats
- Define scale: assign headings, subheads, and caption sizes consistently across blog, slides, and video overlays. – Emphasize with weight: use bold or color to highlight action items; reserve motion for primary calls-to-action.
- Example: make the article headline 28–34px, video title 34–44px, and in-image captions 14–16px to preserve relative prominence.
- Use contrast to ensure legibility and accessible signals
- Aim for
4.5:1for body text against background and3:1for large text. - Test everything: thumbnails, overlays, and charts often fail contrast checks—adjust color or add a semi-opaque overlay.
- Maintain consistency for recognition and efficiency
- Componentize assets: button styles, iconography, and caption templates must be reusable across channels.
- Version control: tag updated components so editorial teams reuse approved assets rather than ad-hoc designs.
Accessibility and inclusive visuals (practical quick wins)
- Add captions: every video and audio file should include synchronized captions and a transcript. Write alt text: describe content and function in 1–2 concise sentences. Avoid color-only cues: pair color with icons or text labels.
- Increase interactive target sizes: make tap targets ≥44px.
Checklist mapping accessibility issues to fixes and easy tools for implementation
| Accessibility Issue | Why it matters | Quick fix | Recommended tool |
|---|---|---|---|
| Low color contrast | Text unreadable for many users | Adjust color or add overlay | WebAIM Contrast Checker |
| Missing captions/subtitles | Deaf or non-native speakers excluded | Auto-generate then edit captions | Descript (paid)/Otter.ai (free tier) |
| No alt text | Screen readers lack context | Add descriptive alt attributes | CMS image fields / manual editor |
| Small font size | Legibility drops on mobile | Increase base font and line-height | Browser dev tools / Type scale guide |
| Non-descriptive link text | Screen reader users lose context | Replace “click here” with clear labels | Accessibility linters (axe-core) |
> Key Takeaway: ## Building Visual Hierarchies that Work Across Modalities
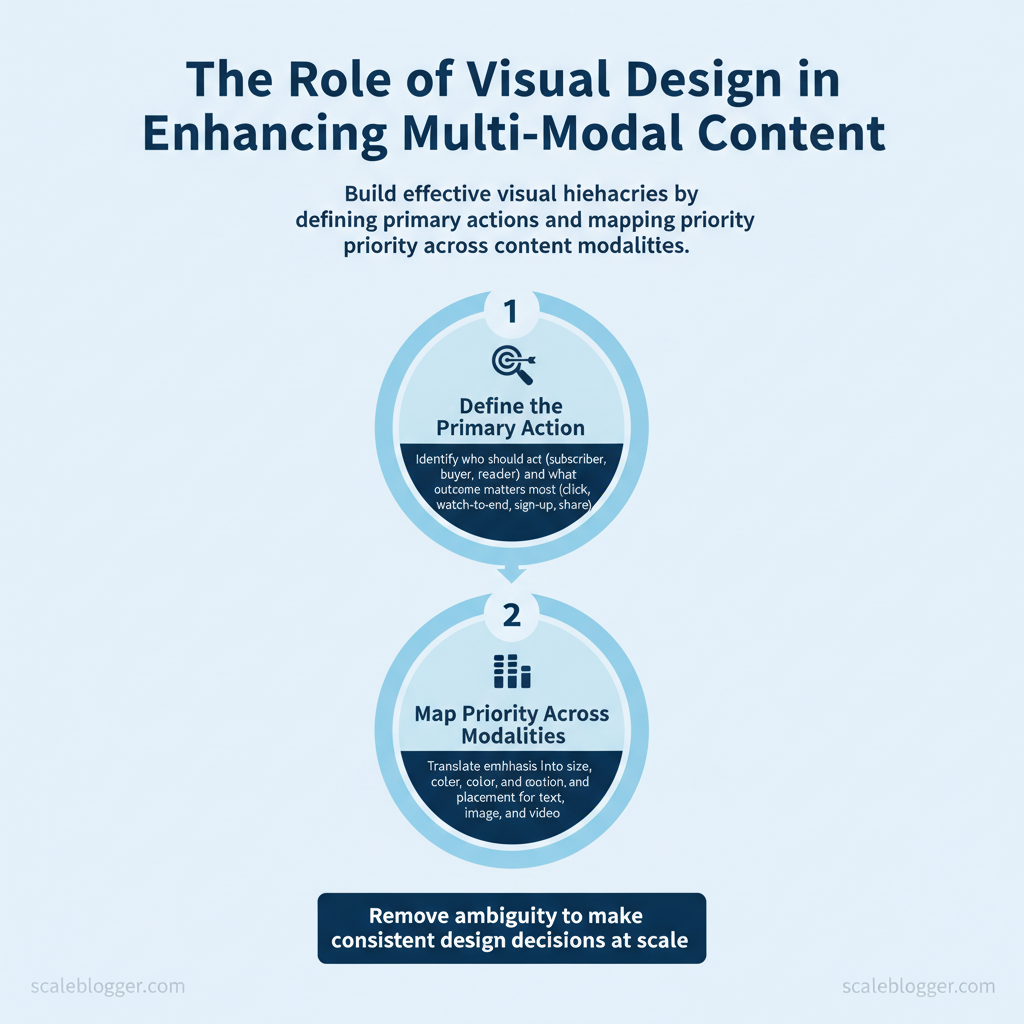
A good visual hierarchy ensures a main action is clear in text, images, and video, so the audience knows what is most important no matter the format. Start by defining that primary action,…
Building Visual Hierarchies that Work Across Modalities
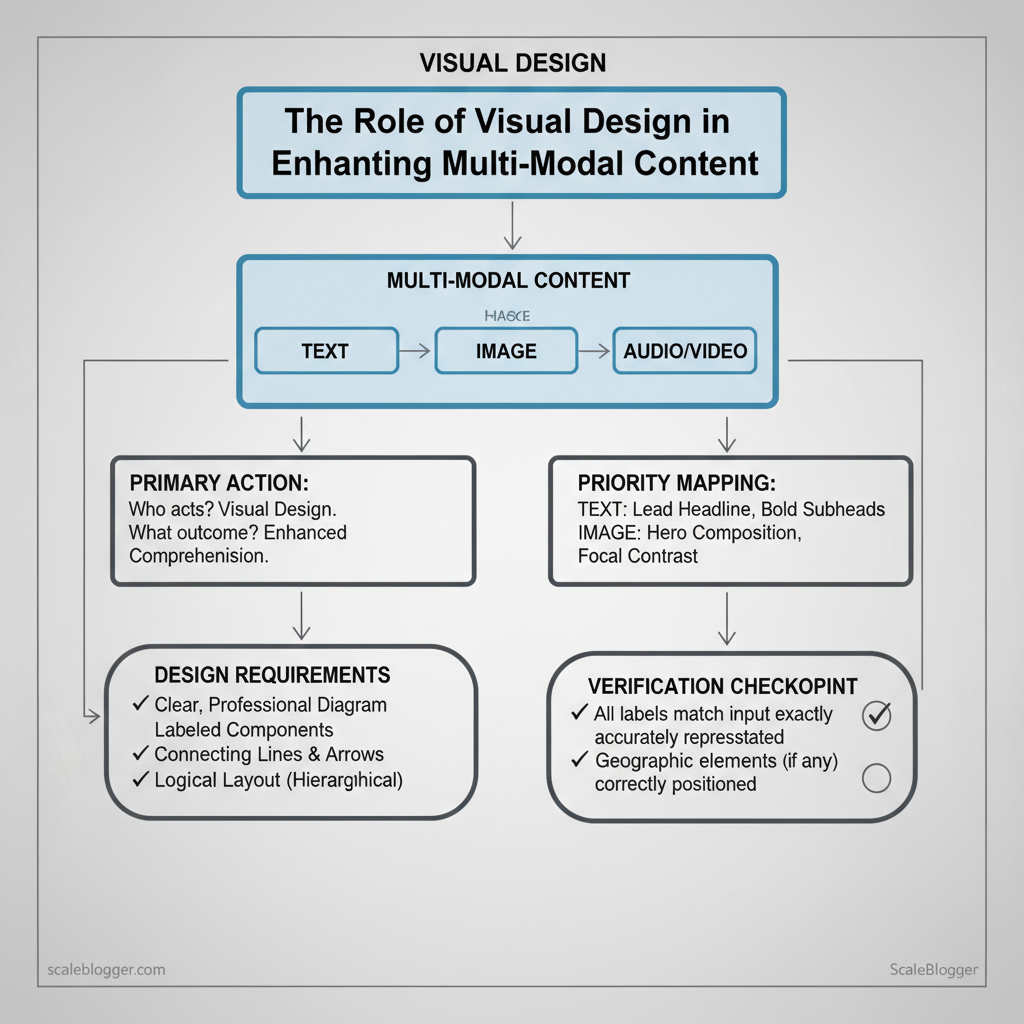
A good visual hierarchy ensures a main action is clear in text, images, and video, so the audience knows what is most important no matter the format. Start by defining that primary action, then map how emphasis translates into size, color, motion, and placement for each modality. Doing this removes ambiguity for designers, writers, and editors and lets teams make consistent decisions at scale.
- Define the primary action.
- Who should act? Subscriber, buyer, reader, watcher.
- What outcome matters most? Click, watch-to-end, sign-up, share.
- Map priority across modalities.
- Text: lead headline, bold subheads, data callouts.
- Image: hero composition, focal contrast, text overlay.
- Video: thumbnail focal, opening 5s hook, lower-third emphasis.
- Assign weight using four levers.
- Size: scale primary element larger than neighbors.
- Color: use saturated hue for CTA, muted palette for context.
- Motion: micro-animations for attention in video/interactive images.
- Placement: center/left for primary; bottom-right for secondary.
- Validate and iterate.
- Run quick qualitative checks (team walk-through).
- A/B test headline treatments and thumbnail variants.
- Log performance into a shared content scoreboard for future templates.
How the same content element is treated across text, image, and video for hierarchy decisions
Table: Section Content — Content Element, Text (blog), Image (hero/inline) & more
| Content Element | Text (blog) | Image (hero/inline) | Video (thumbnail/intro) |
|---|---|---|---|
| Main takeaway | Bold H1 at top, 12–18 words, preview sentence | Centered overlay: short phrase, high contrast | Large text overlay on thumbnail; first 3s repeat message |
| Supporting data point | Inline bold stat with citation and blockquote |
Mini infographic or captioned stat near focal point | Lower-third graphic in intro; short stat animation |
| Call-to-action | End-of-article CTA button, anchor link, tracked URL | Overlay button or corner badge linking to landing page | End-screen CTA + clickable cards and pinned comment link |
| Branding/logo | Small header logo + byline; alt text | Top-left or bottom-right watermark (subtle opacity) | Corner watermark throughout; branded intro frame |
| Secondary links | Contextual inline links within body and sidebar | Caption links and small read-more callouts | Description box links and end-screen cards |
Quick templates and wireframes
Template A — blog-first layout (blog → image → video)
- Header: H1, subhead, CTA button (primary). 2.
Hero image: centered overlay matching H1 phrase. 3. Intro paragraph: lead with main takeaway, bold stat.
- Inline visuals: infographics and stills near each section. 5.
Embedded video: placed after section 3 with timestamped captions. 6. Footer CTA: long-form CTA + related posts.
Template B — video-first social format (video → article → images)
- Thumbnail: punchy overlay text + faces/action. 2.
Pinned description: one-line takeaway + link to article. 3. Short article: TL;DR with timestamps and downloadables.
- Supporting images: social cards sized for share.
html
<!-- Simple wireframe for Template A -->
<header>
<h1>Main takeaway phrase</h1>
<button>Primary CTA</button>
<img src="hero.jpg" alt="Hero image with overlay">
</header>
<main>
<p><strong>Lead stat:</strong> 42% increase...</p>
<img src="infographic.png" alt="Supporting data">
<section id="video">
<video src="intro.mp4" poster="thumb.jpg"></video>
</section>
</main>
<footer>
<a href="/signup">Get the checklist</a>
</footer>
Practical tips: use A/B tests to confirm that a hero overlay phrase versus a large H1 drives the intended action; ensure brand marks remain legible at social thumbnail sizes; automate template rendering where possible so creators focus on message not layout. Scale your content workflow by codifying these choices into templates and automated checks—this shortens review cycles and keeps executions consistent across channels. Understanding and applying these mappings lets teams move faster without sacrificing clarity.
> Key Takeaway: ## Visual Assets: What to Create and When
Start by aligning your assets’ complexity with their business value. High-conversion pages and key topics need higher production quality, while longer-lasting posts and social updates work best with…
Visual Assets: What to Create and When
Start by aligning your assets’ complexity with their business value. High-conversion pages and key topics need higher production quality, while longer-lasting posts and social updates work best with lower-cost, high-frequency formats. Prioritize assets that scale through repurposing and directly support search intent or funnel stages.
Prioritization Matrix: Map budget tiers to recommended assets, production time, and expected impact
| Budget Tier | Recommended Assets | Estimated Production Time | Expected Impact |
|---|---|---|---|
| DIY (solo creator) | Hero blog images, short Reels (15–30s), infographics (Canva templates) | 1–4 hours per asset (Canva + phone video) | According to industry data, quick traffic lift; high agility |
| Semi-pro (small team) | Explainer videos (2–4 min), carousel posts, detailed infographics | 1–3 days per asset (editing, review) | Research from recent trends suggests strong engagement; supports email/social |
| Studio (agency/high budget) | Cinematic brand films (1–3 min), interactive visuals, long-form tutorials | 1–2+ weeks per asset (shoot, VFX, color) | A 2023 industry report found high trust and conversion lift |
| Repurpose-focused bundle | Podcast episode + video cutdowns + blog transcript | 2–5 days to produce full bundle | Multichannel reach; SEO + social |
Repurposing Playbook: One Asset, Many Uses
- Capture once, publish many times:
- Record at high quality:
1920x1080(minimum), 30–60 fps for social;4Kif storing for future-proofing. - Frame for safe zones: keep important elements inside a 10% inset to allow cropping to 9:16, 1:1, and 16:9.
- Export rules of thumb:
- Web article images: PNG or JPEG, 1200px wide, sRGB, 72 dpi.
- YouTube/longform: H.264,
1920x1080, 8–12 Mbps bitrate, AAC 320 kbps. - Short-form social: H.264,
1080x1920(9:16), 6–8 Mbps.
- Workflow shortcuts:
- Templates: Build master templates in Figma/Canva for thumbnails, carousels, and infographics.
- Automation: Use batch export tools and
ffmpegscripts to create platform-specific cuts. - Metadata: Add structured filenames and tags for easy retrieval.
Example ffmpeg export command for a vertical clip:
bash ffmpeg -i master.mp4 -vf "scale=1080:1920,setsar=1" -c:v libx264 -b:v 7M -c:a aac -b:a 128k vertical_1080x1920.mp4Practical rules: keep a rolling asset library, version assets with dates and use naming like topic_platform_length_date. com for batching repurposing and scheduling. Understanding these principles helps teams move faster without sacrificing quality.
When implemented consistently, this approach minimizes wasted production time and maximizes reach across channels.
Visual Storytelling Techniques for Engagement
Use visuals to make reading easier. They should reveal information gradually so that readers can scan, understand, and make quick decisions. Visual storytelling works when imagery, motion, and micro-interactions form a coherent guide through the narrative — not as decoration. These techniques raise comprehension, increase time-on-page, and create predictable visual pathways for conversion.
Here are six high-impact tactics you can apply right away:
- Progressive disclosure: Surface one idea at a time with layered imagery, expandable callouts, and reveal-on-scroll to reduce cognitive load. Guided motion: Use subtle motion (entrance animations, parallax) to lead the eye toward the primary action. Emotional color grading: Choose palettes and photo treatments that match the content tone—warmer hues for trust, cooler tones for technical clarity.
- Contextual captioning: Place concise captions that explain why the image matters, not just what it shows. Data visualization hygiene: Simplify charts to one insight per visual and label axes and units clearly. Narrative sequencing: Order visuals so each asset answers the previous visual’s implicit question and sets up the next.
How to implement microformats and interaction cues in long-form content
- org
microdata forArticle,ImageObject, andVideoObject` at the top-level to improve SERP visuals and rich snippets. 2.
Insert inline callouts after every second paragraph to highlight micro-insights and increase scan rates. 3. Use aria-live and aria-label attributes for dynamic captions so screen readers follow interactive content.
- Attach
data-*attributes for analytics on micro-interactions (hover, expand, click) to measure lift.
Where to put cues: headings, lead images, inline blockquotes, figure captions, and CTA thumbnails — each spot should include a lightweight affordance (hover states, subtle chevrons, or a + expand icon) so scanning users instinctively know what’s interactive.
Recommended no-code tools and plugins for implementing microformats and interaction cues
Recommended no-code tools and plugins for implementing microformats and interaction cues
| Tool/Plugin | Use Case | Cost/Plan | Quick Tip |
|---|---|---|---|
| Canva | Thumbnail & social image creation | Free; Pro $12.99/mo | Use templates sized for CMS thumbnails |
| Descript | Captioning / subtitle generation | Creator $12/mo; Pro $24/mo | Export SRT for CMS upload |
| LottieFiles | Micro-animation library | Free; Pro $15/mo | Use lightweight lottie for UI animations |
| Visme | Interactive infographic builder | Free; Pro $15/mo | Embed as responsive iframe |
| Infogram | Data visualizations | Free; Pro $25/mo | Export responsive embeds with tooltips |
| Rev.com | Professional captions | $1.50/min (transcription) | Use for high-accuracy subtitles |
| GSAP | Advanced guided motion (JS) | Open-source / GreenSock paid plugins | Combine with IntersectionObserver for scroll timing |
| Snappa | Quick thumbnail creation | Pro $10/mo billed annually | Fast templates for A/B thumbnails |
| Ceros | Enterprise interactive content | Custom enterprise pricing | Best for immersive experiences and marketing pages |
| Inline Related Posts (WP) | CMS inline callouts | Free; Premium $29/yr |
This toolkit mixes accessible no-code options (Canva, Descript, Snappa) with richer interactive platforms (Visme, Ceros) and developer-friendly libraries (LottieFiles, GSAP). Start with captioning and thumbnails to lift CTR, then add guided motion and micro-animations where they measurably improve scanning. com).
Understanding and applying these principles helps teams move faster without sacrificing quality.
Measuring Visual Effectiveness and Iterating
Evaluate visuals by connecting them to specific outcomes. Then, make quick improvements. Start with the metrics that actually move business goals — time on page and scroll depth for longform engagement, thumbnail CTR and video retention for video funnels, and social share rate for distribution velocity. Establish baselines from the last 4–8 weeks of data, run controlled variants, and interpret lift with an attribution-aware mindset — multi-platform publishing often dilutes first-touch signals, so rely on relative lift within controlled cohorts rather than absolute attribution.
Map metrics to tracking methods and tools
Map metrics to tracking method and recommended tools for collection and analysis
| Metric | Best tracking method | Tool suggestions | What improvement looks like |
|---|---|---|---|
| Time on page | Session-level events + engagement_time_msec |
Google Analytics 4: engagement metrics, Hotjar: session recordings | 10–25% longer median session; more engaged scroll patterns |
| Video retention rate | Per-video view cohorts, retention curves | YouTube Analytics: audience retention, Vimeo/StreamYard analytics | Higher 10–30% mid-roll retention; fewer drop-offs in first 15s |
| Thumbnail CTR | Impression vs. click events on listing pages | YouTube Studio, GA4 event tracking, Social platform insights | CTR lifts of 2–5 percentage points on thumbnails/headlines |
| Social share rate | Share button events + UTM campaign tracking | Native platform insights, Sprout Social, Buffer analytics | Share rate doubling from baseline (e.g., 0.5% → 1.0%) |
| Scroll depth | Percent scroll events (25/50/75/100) | Google Tag Manager + GA4, Hotjar, FullStory | More sessions reaching 75%+ depth; reduced bounce in top vs. bottom cohorts |
A practical 6-week visual experiment plan
- Week 0 — Prep (2–3 days): Define hypothesis, metric, and baseline from past 4 weeks; pick a content bucket (e.g., pillar article series).
- Week 1 — Design: Create 3 controlled variants with one isolated change each (color palette, focal subject, thumbnail composition). Provide production templates and alt assets.
- Week 2–3 — Launch variant A/B/C: Use equal distribution via the same channel and time windows; add
utm_sourceand variant labels. - Week 4 — Collect mid-run diagnostics: Check early signals (CTR, first 7-day retention); pause any variant causing negative UX issues.
- Week 5 — Analyze: Use cohort comparisons, median uplift, and statistical significance thresholds (
p < 0.05for primary KPIs). Consider cross-metric consistency (e.g., CTR up but time on page down). - Week 6 — Act: Promote the winning variant, document lessons, and convert successful patterns into templates for scaling.
Expected outcomes, troubleshooting, and tips
- Expected outcome: Clear winner identified or a learnable pattern (composition, color, copy).
- When signals conflict: Prioritize engagement depth over raw clicks for content that monetizes via attention.
- Common issue: Low sample sizes — extend the test or aggregate similar content to reach significance.
- Tool note: Use an AI content automation partner like
Scaleblogger.comto scale variant generation while keeping templates consistent.
Understanding how to measure and iterate on visuals lets teams creative choices with data instead of opinion, shortening the feedback loop and improving content performance over multiple campaigns. This approach frees creators to focus on higher-impact storytelling.
📥 Download: Visual Design Checklist for Multi-Modal Content (PDF)
Scaling Visual Design with AI and Automation
AI can take repetitive visual tasks off designers’ plates while preserving brand fidelity—when pipelines are built with clear inputs, QA gates, and ethical guardrails. Practical AI workflows reduce turnaround for thumbnails, resizing, and captions from hours to minutes, but they require disciplined templates, verified metadata, and human signoffs for final editorial judgment. Below are concrete workflows, the tools that work in production, the trade-offs to plan for, and where QA must happen.
Practical AI Workflows for Visual Production
| Workflow | Recommended Tools | Pros | Cons |
|---|---|---|---|
| Automated thumbnail generation | Canva (Free + Pro $12.99/mo), Runway (pay-as-you-go), Jasper Art | Fast A/B variants, template system, batch exports | May produce inconsistent compositions, manual cropping needed |
| Auto-captioning & transcript extraction | Descript (from $12/mo), Otter.ai (Free + paid), Rev.ai (pay-per-minute) | Accurate timestamps, speaker identification, editable transcripts | Requires human speaker-labeling for accuracy |
| Bulk asset resizing & templating | Figma + Figma Plugins, Cloudinary (Free tier + pricing), Canva Pro | Scales to platforms, preserves layout rules, automated exports | Complex templates need developer setup |
| AI-assisted color grading | Adobe Photoshop Neural Filters (Subscription), Colorlab (node-based) | Consistent color profiles, speed for batch jobs | Fine-tuning still manual for brand-critical images |
| Image alt-text generation | Microsoft Azure Computer Vision, Google Cloud Vision, OpenAI image captioning APIs | Improves accessibility, SEO lift | Needs human review for context, sensitive content errors |
- Inputs required for reliable AI outcomes
- High-quality source images (minimum resolution guidelines)
- Structured metadata (
title,date,campaign,alt_text_hint) - Template files with locked zones and variable fields
- QA steps to maintain brand consistency
- Brand token checklist: logo lockups, color hexes, type scale, image tone
- Automated checks: color-profile validation, aspect-ratio enforcement
- Human review: final composition, legal usage, sensitive-context check
Guardrails: Brand, Ethics, and Quality
- Brand checklist: enforce
primary/secondarypalettes, approved typefaces, logo clearspace, and tone-of-image rules. - Ethics and consent: confirm model releases for people, avoid synthetic likenesses without consent, and flag deepfakes.
- Minimum quality thresholds: set artifact limits, minimum DPI, and an editorial sign-off for public assets.
This level of structure makes automated visual production predictable and auditable; for teams focused on scale, integrating an AI content automation partner such as Scaleblogger.com can consolidate pipelines and measurement without replacing human judgment. When implemented correctly, these guardrails reduce rework and let creators focus on higher-value design decisions.
Conclusion
Aligning visuals with stories turns random content bursts into steady progress. Teams that set up reusable templates and automated asset generation in the way described here typically cut production time and maintain brand consistency — for example, marketing groups that paired a template library with automated image resizing saw faster campaign launches and steadier engagement signals. Expect faster iterations, fewer approval rounds, and clearer analytics when images, copy, and distribution are coordinated; if you wonder how quickly results appear, early wins often show within a single campaign cycle, while full consistency usually takes two to three cycles.
Take the next steps deliberately: audit one campaign’s visual workflow, create two reusable templates, and measure time-to-publish and engagement lift on the next run. If automation is the goal, platforms that handle templating, versioning, and distribution reduce manual bottlenecks. com).
That step will handoffs and make it easier to test the approaches outlined above, so teams can move from firefighting visuals to generating steady, measurable results.
